The preparation

It is only once I have committed myself that I start thinking about what I have actually let myself in for.
So it was when my Father-in-law asked if I was interested in taking some photos of the flower festival at his local church. I had previously taken photo's for a wedding dress festival at the same church and subsequently put them together in a DVD that was sold for church funds, so must admit I was a bit chuffed to be asked again
However compared to wedding dress festival, a flower festival would be a totally different type of gig. It was only once I had accepted that I started thinking about what I had let myself in for. For starters, I have no experience in taking of pictures of flowers. Still life photography is not an area that I have done much work in.
However in photography (as with many things in life), the knowledge gained in one area can be usefully applied to others and it promised the opportunity to practice a number of techniques, including framing, composition and the application of color theory, and also all the post-processing techniques required to get the best results
I realised however that my first issue would be the location itself. If I had been taking flower photo's at home, then I would have maximum control over things like lighting, the background and the position of the plants. However since these flowers were to be in a public place, it would mean I would have little control over any of those factors. Another complication would be that I would need to work around the people who had come to actually see the flowers.
As is my habit, I started by looking on the web for inspiration. Unfortunately while there is plenty of advice on taking photos of flowers, there is little practical advice on the taking pictures of flower arrangements.
One thing was apparent however and that is that flowers looked best under natural light. Getting enough natural light however was likely to be a problem. I could not be sure of of the kind of light I would find in the church or how much. It was obvious though that a tripod would be essential to ensure that the photos were taken with the kind of ISO level that would maximise detail and a decent depth of field, while at the same time reducing noise to a minimum. However setting up and using a tripod while people were looking at the flowers would be challenging.
My first idea was to take flowers images against a plain background, such as black or white card. The ideal scenario would be to use a large backdrop, with two or 3 bright lights to control the shadows. Then it would just be the case of rotating the arrangement to its best position before taking the shot.
Instantly I could see some issues with this scenario. First was the lack of any kind of large backdrop or lights. This however was a minor issue, since I severely doubted whether the organizers would be happy for me to set-up a portable photographic studio in their church and move their careful coiffured displays on to it. I would therefore be limited to whatever background existed already or whether I could position some card behind the flowers on the day.
With this in mind I tried some practice shots. I bought some flowers and to use them as test subjects ( much to the disgust of the wife who assumed they were for her) . I got some large black card and I made my own screen backdrop which I hoped could be dropped behind the arrangements on the day.
 |
| My home made backdrop |
With natural light and a bit of enhancing in Photoshop (largely darkening of the black background) I got some nice results. I therefore bought a selection of other card and even got some wallpaper samples (This was achieved by ripping of pieces at the local DIY store on the pretext I was taking samples home to decide which was to go on the walls.)
 |
| The results of the photo against the home made backdrop(plus a bit of Photoshop trickery) |
So cometh the day
On the day I loaded the car up with all the things I thought I would need, such as paper, backdrops, and camera equipment. I also added everything else I could think of, such as clamps (for holding paper), scissors(for judicious pruning), a portable reflector for added illumination and a water spray for adding droplets onto the flowers.
I also packed in my family, since it was clear this was not going to be a one person job. Daughter number 1 had volunteered to be my photo assistant for the day and do jobs such as hold card, take notes and tell me what I was doing wrong (She at that sort of age)
I had also purchased a few other items that I thought may be of use. The first was a ring light, which is a light that can be attached to the front of the lens. I hoped this could be used to control the shadows. Secondly I purchased a set of macro extension tubes that hopefully would tallow me to get closer to the blooms.
In the event however the ring light only arrived a couple of days before the shoot, so I had little time to play with it. The macros had not arrived by the day of the shoot so could not be used.(They actually arrived 2 weeks later, via a slow boat from China).
Barwell, I may have a problem
When I arrived the first thing I did was a reconnaissance of the flower festival and it was quickly evident that I had a problem.
Instead of the small displays that I had expected, I was faced huge flower dioramas, meters wide and tall. This was not at all what I had been expecting. It was clear that it would be next to impossible to capture the displays completely on one photo. Also there seemed little chance in positioning a neutral background behind the displays, due to their size and closeness to the walls.
Worse than this however was the lighting. In the main church it was adequate, but some of the displays in other parts of the church were so lit so poorly that I had trouble even seeing the flowers, never mind taking photos of them.
But still I was there so I had to try and make the best of a poor situation.
The first thing I did was wonder around with the camera, lining up potential shots (but not take any shots at this point) to get some ideas and inspiration about what would and wouldn't work.
After a quick cup of tea I started setting up. Fortunately an hour before official closing it started getting quiet, so I could start taking photos without getting in peoples way but there was enough light to make it worth while. As there were over 25 displays, and with each one posing a different challenge, it was clear that we would be there some time. It also meant we had little time in order to set the photo up. As it was it took over one and half hours to complete the shoot.
As I expected, trying to get the whole display in one photo was generally pointless. So instead we concentrated on small elements of the displays. One thing that became instantly obvious was that my tripod just wasn't up to the task. It's a pretty cheap affair, and doing fine adjustments was a challenging and frustrating, which is not great when you have to do it 25 times.
Our 1st attempt to place a neutral background behind the flowers was a unfortunately a disaster. When trying to place the background behind a display caused it to tip up onto the carpet. After that we were a lot more circumspect in where we tried using the background.
The ring light in the end did not being much use apart from providing some extra illumination in the dimmest part of the church.. The light also produced an unpleasant green tinge which proved difficult to remove in post-processing.
The results
In the end however we did manage to get shots of all the displays. Obviously some were better than others.
The original intention was to sell them as individual prints. However when I loaded them on the computer, it seemed unlikely they were good enough to stand alone. However one possibility is to put them together as some sort of photo collage showing a number of displays in one photo.
Another option is to create a photo montage and stick it on a DVD. I have previous form for this, and I must admit I enjoy doing it. It also allows me to add some dynamism to an otherwise still photo (Zoom, panning etc) which distracts from the quality of the photos themselves.
For the firsy time I used Zoner Photo studio as my primary photo developing tool. This was something I got for free recently and had been sat on my PC for a while and generally ignored. Like any new software, it is always a toss up whether it is worth the effort to invest time in learning it or to stick with what you have. But what drove me to it was it's RAW support.
I photo everything in RAW nowadays,but processing RAW images remains a problem. Photoshop CS2 does not support my Sony RAW format and the software Sony produces is not very good. It's slow, crashes often, and is not very full featured. For example you can set the white balance via selecting the gray point, but it will not tell you the temperature, so you cannot apply the same settings to other photos.
Zoner Photo on the other hand, builds on the adobe RAW processing engine that is used by the latest versions of Lightroom and Photoshop. As a result is a far better RAW editor. Zoner Photo also comes with and JPG editor, however it's lack of layers support, means that here it is more limited than say Photoshop CS2
Anyway I got to use the program in anger for the first time and was quite impressed on the amount of control it gave me in the final image. So much so, I am revising whether I still need yet to buy Lightroom (Lightroom provides better layer support and also supports additional filters such as the Nik collection, so it is still on the to buy list.)
So what did I learn
The 1st lesson is to check carefully what you are being asked to take photo's of. I had prepared as much as possible, but most of the preparation proved useless , when faced with the realities.
The 2nd lesson is that I need a new tripod. A tripod is one of these piece equipment that you get what you pay for. My present one is just too unsteady and too hard to adjust for what the kind of photography I wish to engage in.
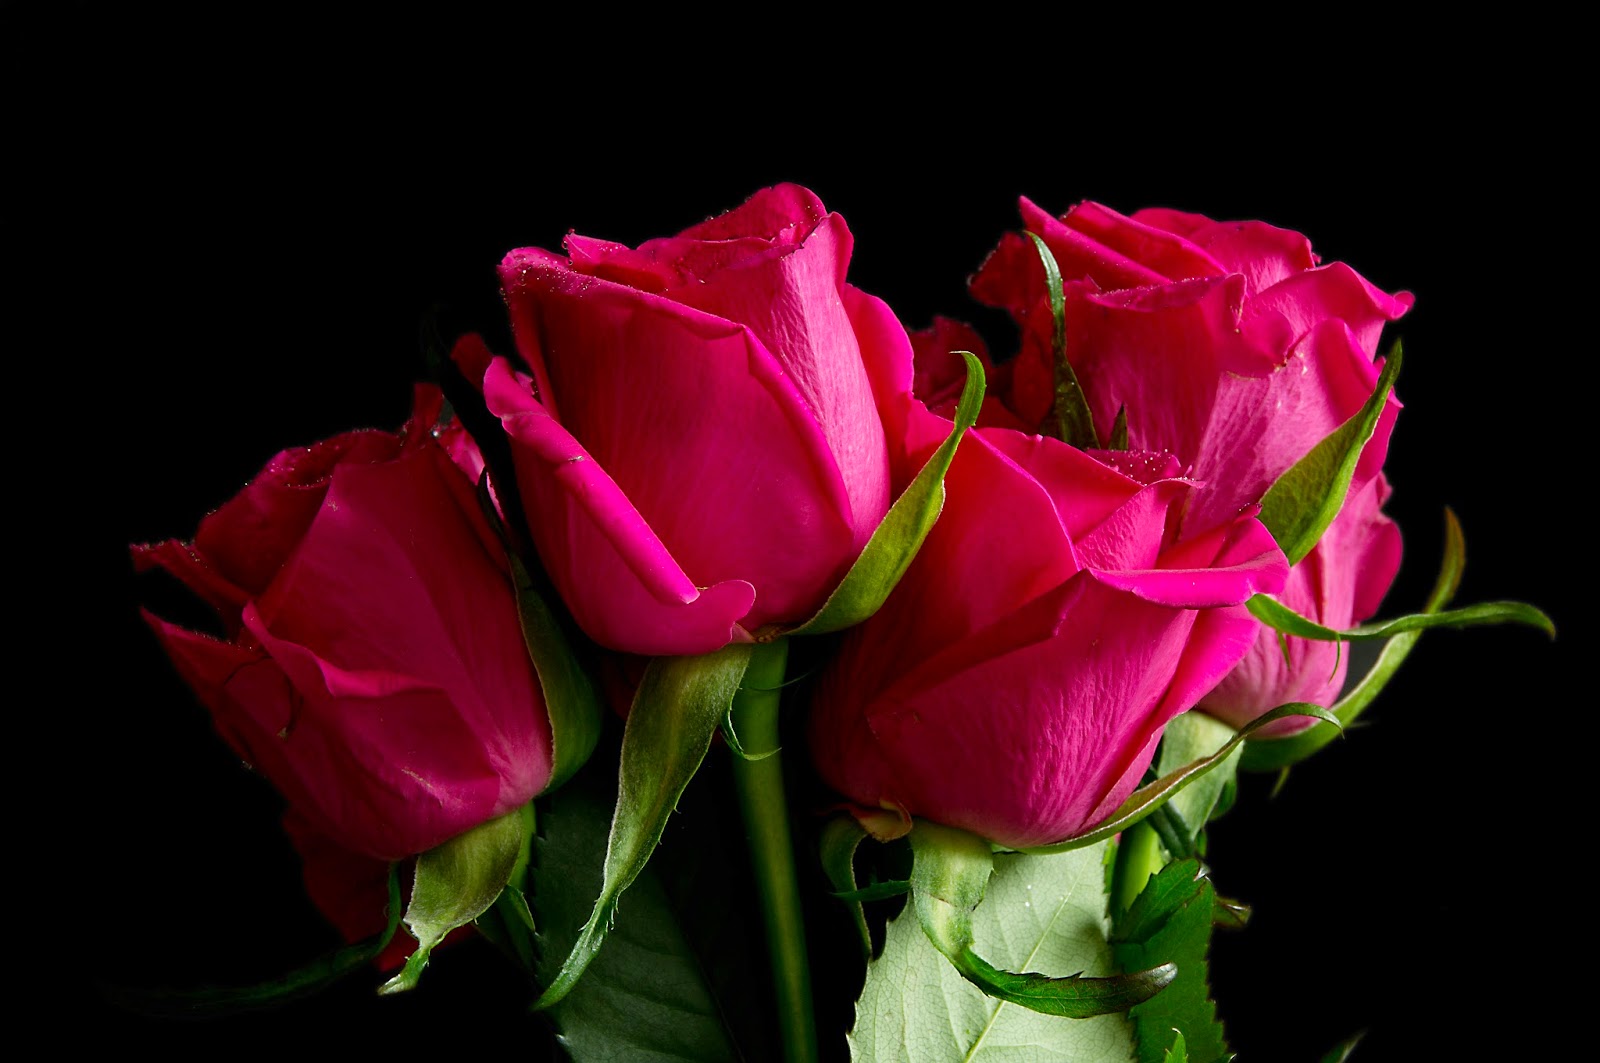
 |
| A rose would smell as sweet |


The 3rd lesson was that Zoner Photo studio is pretty powerful fully featured RAW editor for the price.
But did I learn lessons on how to take pictures of flower arrangements?
Probably not. However I did learn some lessons on what will work and what doesn't. There is no doubt the final photo's could of been better, but were probably the best I could of done in the situation I faced. However the photos do grow on me every time I go back to them(pun intended)
I just hope my customers agree....
No comments:
Post a Comment